
Creating a Juniper Recovery USB Drive, the Easy Way
26 September 2019Sure, you could follow the instructions here: https://www.juniper.net/documentation/en_US/junos/topics/topic-map/recovery-using-emergency-boot.html#id-creating-an-emergency-boot-device-for-routers
or just follow these easier instructions instead!
Download the Junos Installation Media for the version you wish to install. Go to https://support.juniper.net/support/downloads/
If you’re looking to find out which version is the “gold star” or JTAC Recommended Version, check this page: https://kb.juniper.net/InfoCenter/index?page=content&id=KB21476
To download the gold star/recommended version, make sure you’ve selected Junos SR from the drop-down list.
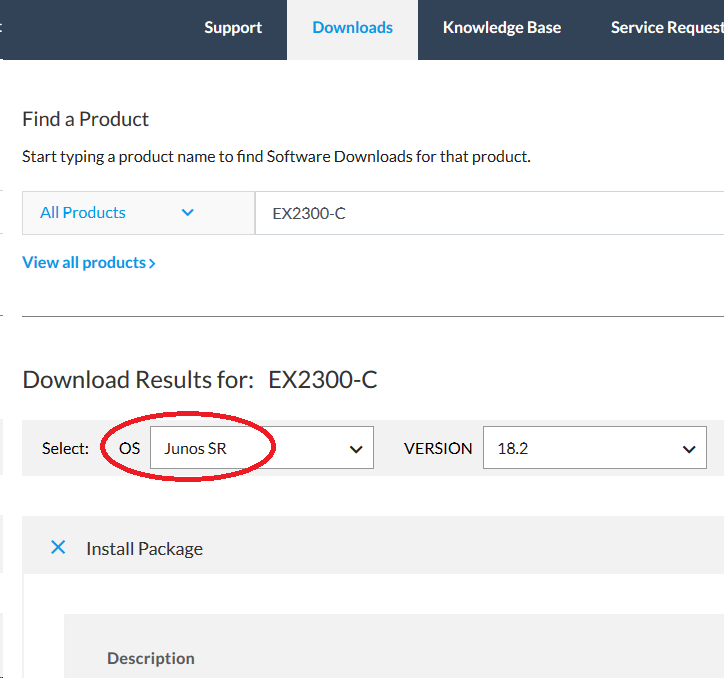
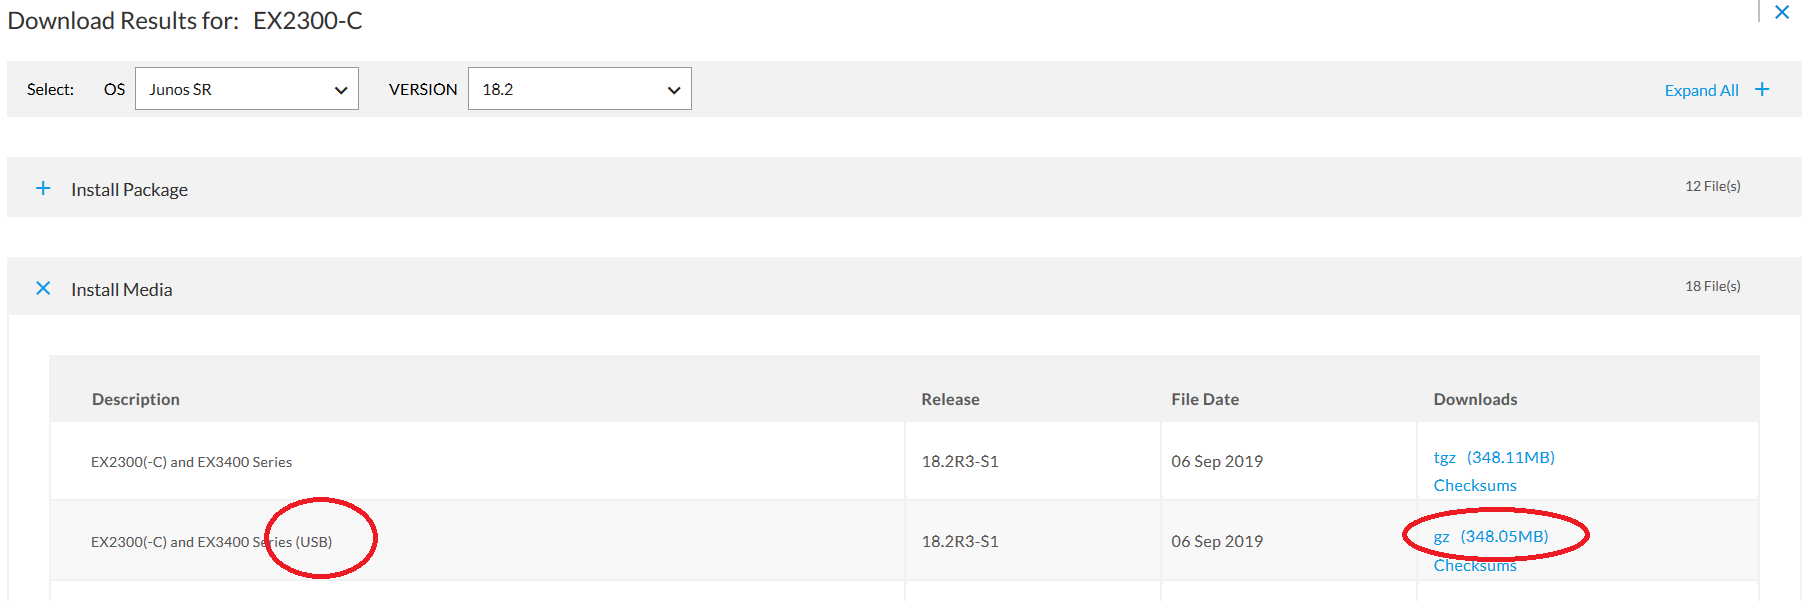
Then, scroll down to Installation Media. Note, not all versions of Junos have this available as a download. In that case, you’ll have to download the most recent previous version of the install media and perform a software update to get to the version you want.
Download the USB version of the file, the .gz filetype, not the .tgz. Verify the checksum of the file you downloaded matches what Juniper says it should be.
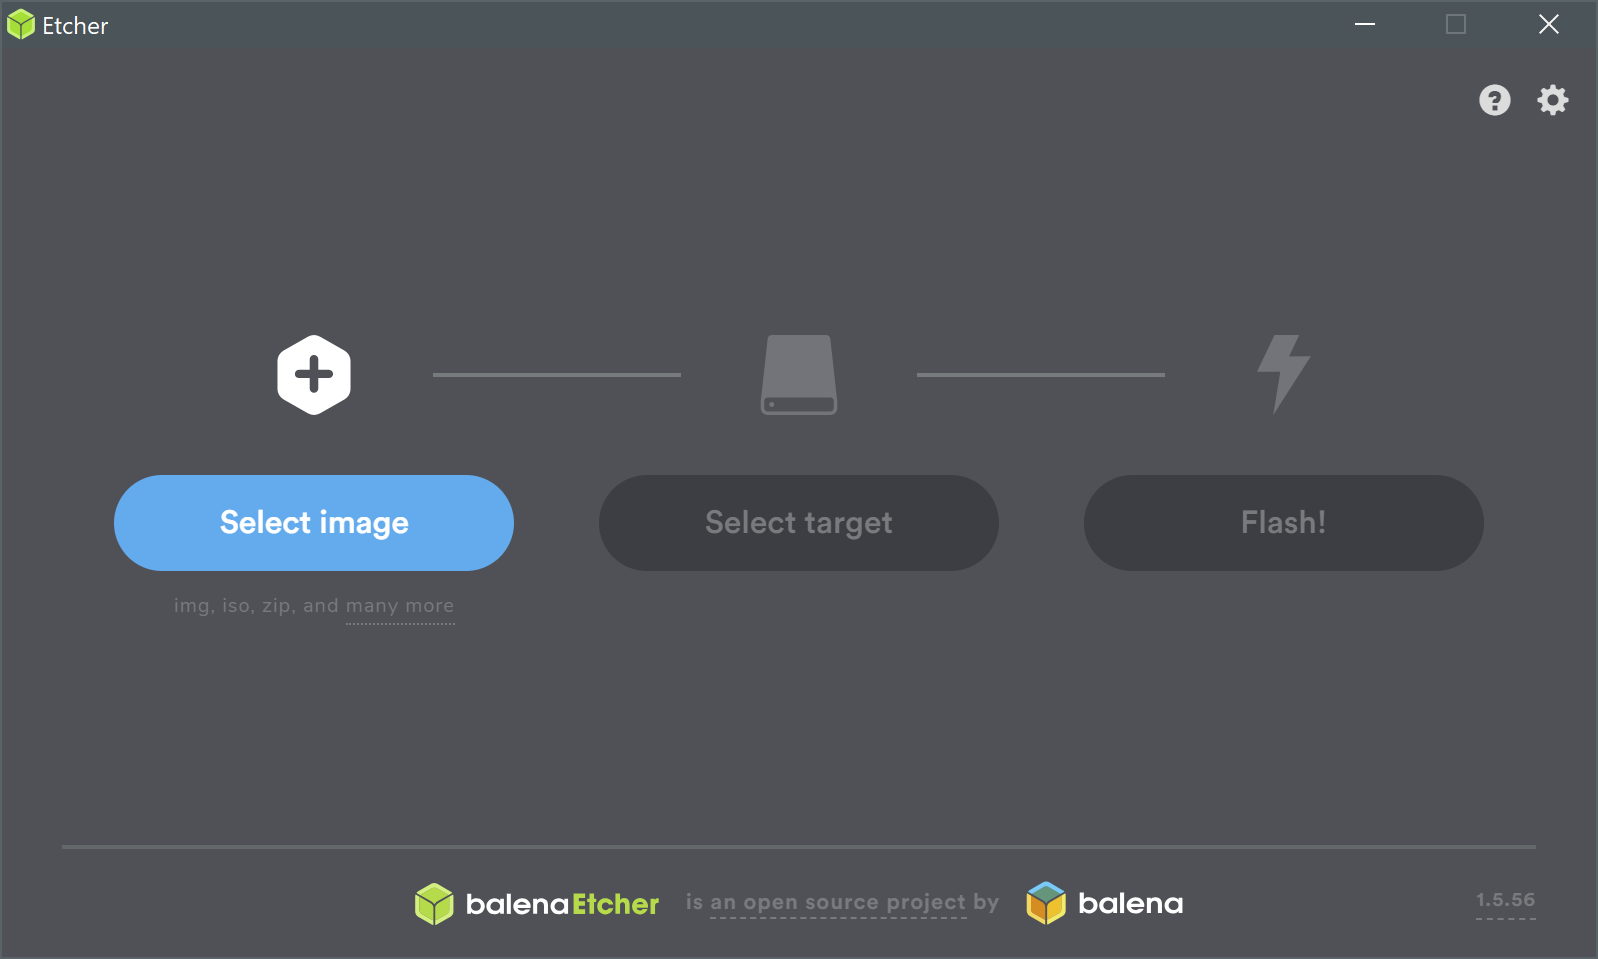
If you don’t already have it, download and install Balena Etcher. https://www.balena.io/etcher/ Then, run it.
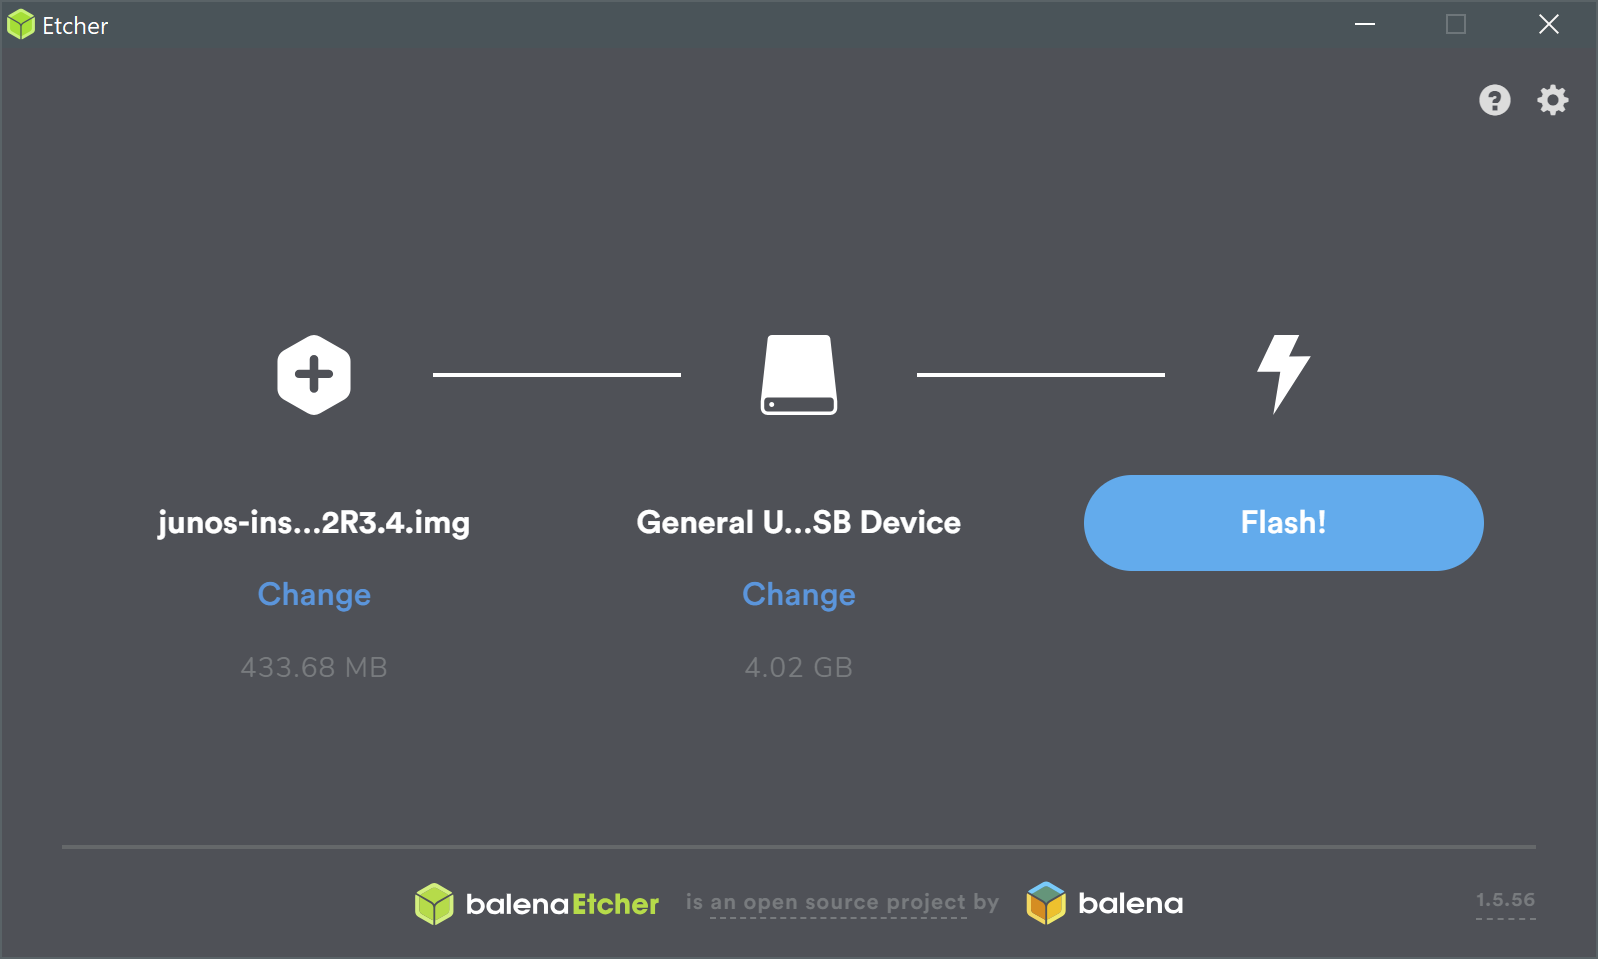
Click Select Image and browse to the .gz file you just downloaded from Juniper. Don’t extract the .gz file, just load it into Etcher as it was when you downloaded it.
Insert your USB drive or select an already inserted drive.
Click Flash!
Wait. Get a coffee.
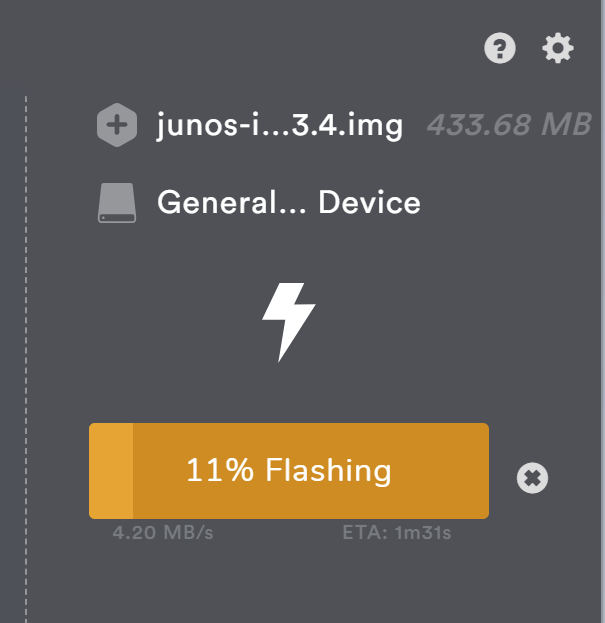

Unmount/Eject the USB drive from your OS. You now have a working Junos Recovery USB Drive!
To use it to recover a Juniper Switch, insert the Recovery USB Drive you just created into the switch, connect your console cable, and power on or otherwise reboot the switch.
Pay attention to the boot process. You’re watching for “Autoboot in 3 seconds… (press Ctrl-C to interrupt)”

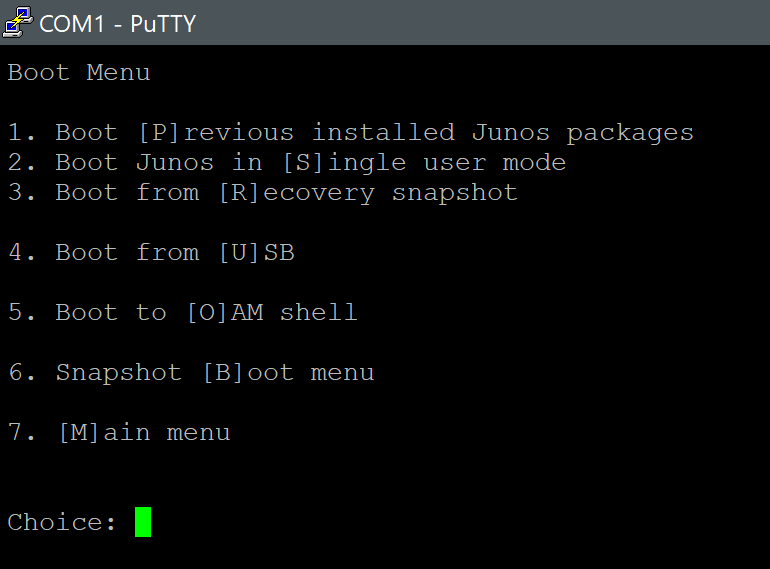
Press Ctrl-C. Then, press 4 to enter the Boot Menu.
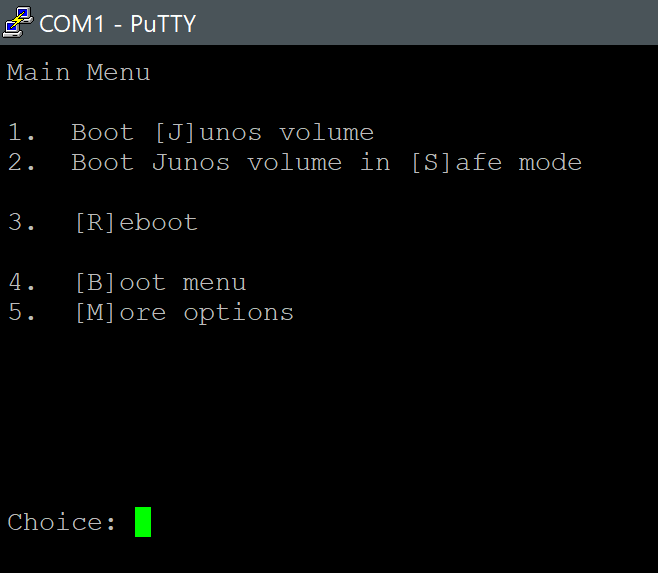
Press 4 again to boot from your USB Recovery Drive.
Junos will boot from the USB Recovery Drive, install it to the flash on the switch, and eventually present you with a login: prompt. At this point, your switch has been recovered/upgraded/downgraded to the version of Junos you flashed to the USB drive. Remove the USB drive from the switch, and reboot/powercycle for good measure.
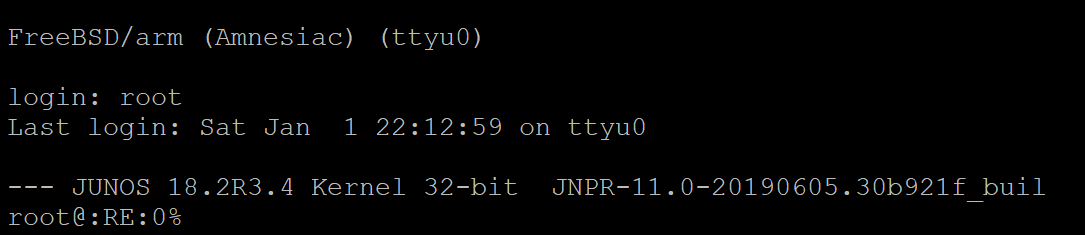
Have fun!
I’d also like to mention that Juniper devices can only boot from some brands of USB drives. One brand that I’ve confirmed does not work is OVANUS, found on Amazon. Finding that out the hard way was a shame because they were cheap. And purple.
tags: juniper - junos
I certify that none of the text contained within the articles on this site has been generated or edited by any AI technology. I've been a fan of the em dash for many years and am known to use big words from time to time.
This page uses cookies — if that's a problem, then don't use the Internet.
Copyright © Bryan Ward